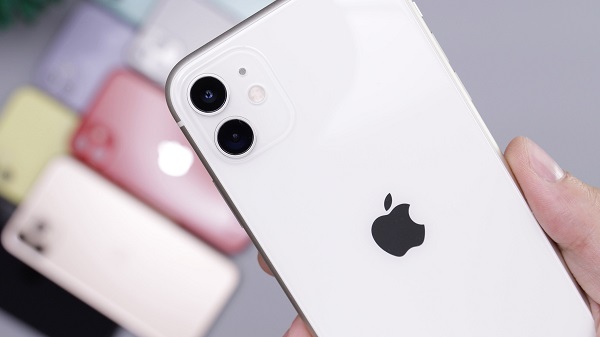
If you have had an Apple iPhone for a sufficient time, you will inevitably see the error message “cannot verify server identity” while using iPhone mail apps. The “cannot verify server identity” problem on the iPhone is often caused by an unauthorized party. However, iOS glitches and incorrect email settings might also be at blame. Typically, the problem arises after creating a new email account. Every time a new email account is added, SSL verification is performed.
If you are looking for a way to cure this problem, you will be delighted to hear that in this fast article, we will demonstrate numerous approaches that will hopefully enable you to send and receive emails without the terrible error message appearing.
Let’s see how to resolve the problem.

What To Do If Your iPhone Says “Server Identity Cannot Be Verified.”
1. Close and reopen the Mail app
When the mail application is malfunctioning, try closing and restarting it. This may sometimes fix small issues if the application’s software broke while you were using it.
To exit the Mail application, double-click the Home button to activate the App Switcher. Swipe up on the Mail application until it disappears from the App Switcher.
2. Restart Your iOS Device
If you get a notification stating that your iPhone “cannot verify server identification,” you should first restart your device. Occasionally, this easy procedure might cure a tiny software bug that could be generating this issue.
To reboot your iPhone, press and hold the power button until the slide to power off message appears at the top of the screen. To switch off your iPhone, slide the red power symbol from left to right with your finger.
Wait around a minute, then press and hold the power button once more to restart the device. Once the Apple logo displays in the middle of the iPhone’s touchscreen, you may release the button.
3. Update iOS carrier setting
A dispute in the network configuration might create issues with email synchronization. The optimal solution is to change the iOS carrier settings. Once completed, the Update should address any network-related difficulties.
Go to Settings > General > About to update your carrier settings. Follow the directions shown on-screen to adjust the carrier configuration.
Note: Carrier update is immediately shown when About is opened. iOS 14.3 added the functionality.
4. Restart the Mail application
There is a strong possibility that application issues are generating this error. In such situations, a force restart might be a lifesaver. Close the Mail app on your iPhone and restart it if it is already running. Use gestures to drag and dismiss the application. Here is how to forcefully shut applications on various iPhone models.
5. Delete Your Email Account and Re-Add It
By deleting and re-entering your email account details, your email’s server identification certificates are reset, allowing the Mail app to verify your email account. Your real email account will not be deleted if you remove an email account from your iPhone.
To erase an email account from your iPhone, use the Settings application and go to Mail > Accounts. Then, under Accounts, locate and touch the email account you want to delete. Touch the red Delete Account icon at the bottom of the screen, then click Delete Account again when the verification notice displays.
You may reinstate your account by going to Mail > Accounts on your iPhone. After that, go to Settings > Accounts > Add account and then follow the on-screen instructions to input your credentials again.
6. Reset All Settings
All of the information stored in the iPhone’s Settings app will be lost if you choose to reset all settings. Identifying the source of a software problem may be challenging; thus, we will be resetting all settings to ensure the issue is permanently eliminated.
Launch the Settings menu and go to General > Reset > Reset All Settings to completely wipe your device’s configuration. You will be requested to enter a password or Restrictions passcode if you have one. After the confirmation message shows at the bottom of your iPhone’s screen, press Reset All Settings to completely wipe your device’s settings.
If you’ve already tried these solutions and you’re still having problems, you may get in touch with Apple and schedule a Help Desk appointment or send a message via the Apple Support website.
